Showing posts with label washi tape. Show all posts

Wednesday, April 8, 2015

"The earth laughs in flowers" or - flower crazy cards

Ralph Waldo Emerson said, "The earth laughs in flowers."  Spring comes slowly here, so I had to find my own flowers to make me smile.

I got a new stamp set from Stampin' Up called Flower Shop and the punch that goes with it and started making cards. The cards made me so happy, that I want to share them with you. Of course I got my inspiration from Pinterest. Click on a picture to see my inspiration.


These last few cards are my own designs, so no links.


I hope these flower cards inspire you and make you happy.

Sunday, March 29, 2015

Stamping Time

During the last couple of weeks I've really gotten back into making cards. I brought a lot of my supplies upstairs, where it's warmer and where I can watch HGTV while I work. My daughter and her family came up one weekend and asked if we could make cards. She suggested that we use some of our washi tape for decorations. My final bit of inspiration is Pinterest. I am hooked on it. I can search for cards by using the name of the stamp set I want to use and get all kinds of inspiration.
So here are some of the cards I've made recently. You can click on the card to see my inspiration from Pinterest, if there is a specific one.


"Sheltering Tree" stamp set from Stampin' Up. The blue with white polka dots is paper.


Same stamp set but the black and white polka dots is a piece of  washi tape.


The bird is from the "A Happy Thing" stamp set by Stampin' Up. 
The words are a stamp by The Last Word.


"Big Day" stamp set by Stampin' Up.


The cake and "Happy Birthday" stamps are also from "Big Day" set by Stampin' Up. The diagonal striped prints are from 3 different rolls of washi tape.


"So Many Scallops" stamp set by Stampin' Up.


"Celebrate Today" stamp set by Stampin' Up plus washi tape.


 "Best Day Ever" stamp set by Stampin' Up.


"Morning Cup" stamp set - Stampin' Up.


"Thoughts and Prayers" stamp set by Stampin' Up.


"Lotus Blossom" stamp set - Stampin' Up.


"A Happy Thing" stamp set - Stampin' Up.


The tree is a stamp from Northwoods Rubber. The words are a stamp by Hero Arts.

_________________________________________________________________________________
The rest of these cards feature washi tape.


("Just a Note" is a Stampin' Up stamp.)


("You make me smile" is stamp by J Denami Design.)


("Happy Birthday" is a stamp by imaginations.)


(This cute little bird is from a Stampin' Up set called "Happy Together")


(This phrase is a stamp from the set called "Heard From the Heart" by Stampin' Up.)

 I am having so much fun creating cards again. I hope I inspired you to get crafty too!


Friday, January 2, 2015

Mother and Daughter Crafting

My daughter and her family came up to celebrate New Year's with us. Every time she comes to visit we always make sure we have some time to craft together. We usually prepare for the weekend by looking up potential projects online - especially on pinterest. 

Here are a few of our projects so far...


Project #1 - heart pictures. We painted white card stock, used a punch to cut out the hearts, and used Mod Podge to glue the hearts to another piece of card stock.  Click here for out inspiration - we used hearts instead of circles)


Here's Carrie's finished picture . . .


and here's mine.


Project #2: Word plaques. We used the silhouette to cut the words out of white card stock. Then we applied washi tape to another piece of card stock and layered the cut out piece on top so the tape shows through. On the second one I just put patterned card stock behind the word "Love." (Click here for our inspiration.)


Project #3: Cards using my new Stampin' Up feather bundle (stamps and framelit dies). (Click here  and here for our inspiration)


And here are our finished cards.


We have one more day to do some crafting. I wonder what our project will be.....

Saturday, April 26, 2014

Washi Tape Frames


For Administrative Professionals Day I wanted to give something I made myself - so I started looking around my craft room for some inspiration and supplies. I found three frames from the thrift store just waiting to be used. Next, I went on my computer to Silhouette Studio to find a saying that I could cut out of vinyl (with my Silhouette Portrait) and out on the glass of the frame. I picked out scrapbook paper for behind the glass. I looked on Pinterest and found this frame tutorial by The 36th Avenue Blog .  I grabbed my washi tape and some flowers, and I was ready to make my gifts.  Such easy gifts to make - and they turned out so cute!


Tuesday, January 28, 2014

Scrap N Craft Weekend

Last weekend the women at our church had our 3rd annual Scrap N Craft Weekend. There were scrapbookers, knitters, quilters, a rug maker, and me - a craftaholic. I brought several different craft projects along, with the goal being to finish some projects I'd started. My first project for the weekend was a fleece blanket. I had bought the fabric months ago, and just kept moving it around the house.
I am happy to say that I finished the blanket, and here it is...


I can't wait to cuddle up with this blanket!

My second project was to use my new Silhouette to cut a mat for a pencil sketch that our son-in-law drew of the view from our dining room window. The Silhouette did a great job, and I love how the picture looks in the frame.


For the weekend I planned several Make-and-Take projects. Whenever someone needed a break from their projects, they could come over to my table and make a project. The first was the flowers on the candy sticks.


The second make and take was a "Design a Dress" card. It was so much fun to watch people pick out patterned paper and embellishments. No two dresses were alike. The cards were made with a Stampin; Up die-cut for the dress, stand, and the oval behind it.


The third project was a refrigerator magnet. We used washi tape to cover a clothespin. Then we used circle punches and stamps to make the design on top.


The weekend was great - mostly because of the fellowship and conversation with other women from the church.

Friday, May 31, 2013

Washi Tape Projects

Here are my first two projects using washi tape - a bulletin board, and a hat holder. The tape was easy to use, and really adds a lot of fun to these projects.


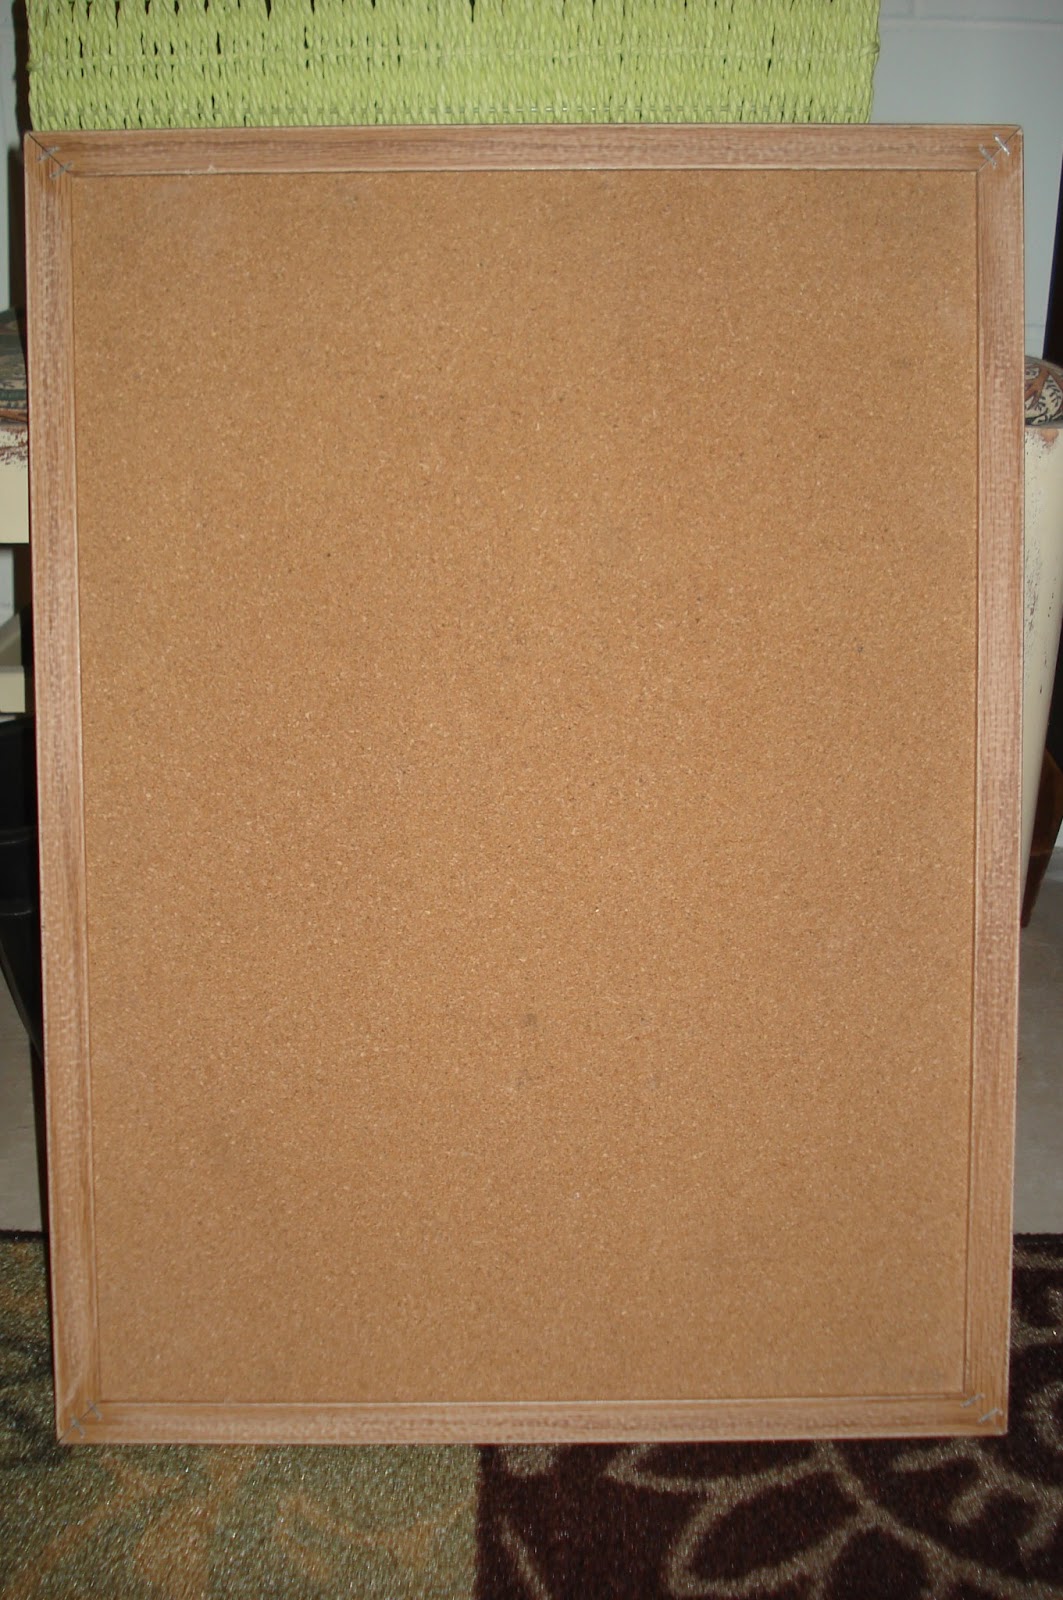
I decided that I wanted a bulletin board in our pantry/office area, and remembered that I had an old bulletin board in storage.

It was pretty plain looking - but perfect for a DIY project.
I found some stencil letters and sprayed the back with adhesive. I followed the directions on the can for temporary use - and let the letters sit for 5 minutes after spraying them. Then I attached them to the bulletin board.
After that I painted the bulletin board and frame using a small roller. I removed the stencils very carefully right after painting because I didn't want them to end up sticking permanently. The next day I realized that the whole thing needed a second coat of paint, so I repeated this whole process. I let the board dry for a couple of days then I got out my washi tape. As you can see in the picture below, I used two different tapes - orange on the front and turquoise on the sides.

After that I searched my craft room for some embellishments, and found these fabric flowers I had bought from the Pick Your Plum website. (If you haven't been to this website yet, check it out. They have one item on sale each weekday. Their prices are good, and they have fun stuff.)


Here's one more look at the finished bulletin board. Isn't it cute?


My second washi tape project is a hat holder that I'm going to hang in my office. I keep telling my coworkers about all the "hats" I wear at work - so I'm going to display hats with labels on them.

I found a nice sturdy wooden yardstick at a flea market for 50 cents. I attached wooden clothespins to the yardstick with E6000 glue.Since I'm only using it as decoration, I think the glue is strong enough. If I would be using it every day to take hats off and put them back on I think I'd add a screw to hold each clothespin even better.
After the glue was good and dry (72 hours, according to the label on the glue) I added washi tape to the front of each clothespin.

My hat holder is ready to hang on the wall of my office. Now I just have to get some hats!

A side note: I found that when I added hats, the yardstick wants to stick out from the wall, so I'll be drilling a hole in the bottom of the yardstick and using two nails, one on top and one on the bottom, to hang up my holder.