Showing posts with label Decorations. Show all posts

Sunday, May 25, 2014

My New Gallery Wall

Ever since we moved up north, I've wanted to put up a gallery wall. I had one in our previous home, and wrote a post about it. (My Gallery Wall) Our new home, however, needed to be finished before I could start putting pictures on the walls. So my pictures were boxed up, and stored in the garage.
Last week I decided that it was time to get everything out of storage. I figured that Memorial Weekend would be the perfect time to put up my gallery wall.  I decided to have my gallery wall in our piano room. There's a big wall, and we can see it from the hallway.
After lunch today I got started. It took me about 5 hours, but I am so happy with the results so far. There's room for a few more pictures/treasures, and I need some heavier black frames on the right for balance, but at least now we can enjoy the things I have.


It's funny - I spent a lot of time trying to make sure all the pictures were level, but in the picture some don't look straight. I also found out it's hard to take a good picture of the wall. I didn't have much natural light.
Here's a picture from a different angle and different lighting.


Tuesday, March 25, 2014

Magnetic Picture

I have two necklaces whose pendants are metal and are made to fit a magnet. I have bought many special magnets to fit in the pendants. That way I can have a necklace for lots of different outfits.

Up until yesterday I kept the magnets in a regular jewelry box. They stuck together and I was always hunting for the one I was looking for.

Last weekend I decided to make a framed board for the magnets. I had bought an old little door with glass in it several years ago. I had always thought that I was going to use it to frame a picture - but until last weekend it sat in storage in the garage. I retrieved the frame from the garage, cut a piece of sheet metal to fit inside of it, and spray painted the metal a dark grey. I actually used magnetic paint, even though it was already made of metal. Then I spray painted the frame a cream color. I found a new handle, which my husband mounted on the frame. (The frame had come with a handle, but someone has painted it and I didn't like the way it looked.) Last night we hung the frame in the bedroom, added the magnetics and hung the necklaces from the handle. I love it! It looks so pretty and I won't have to hunt for the magnets any more.


Saturday, March 8, 2014

A Basket for all Seasons

Last fall I found a cute basket at a shop in Nisswa. It is turning out to be a basket for all seasons. Unfortunately, I can't find a picture of the flowers I put in it for fall - it hung outside our door this fall.
When the snow came, I moved it inside. Here's how it looked for Christmas and the winter.


After this long, cold winter I am so ready for spring. So today I redecorated the basket. If it can't be spring outside, at least I can have spring decorations inside.


The rest of my spring and Easter decorations are in the garage.It's supposed to be warmer tomorrow - maybe I can bring the boxes in and do some more decorating.

Monday, August 19, 2013

One more look at the kitchen

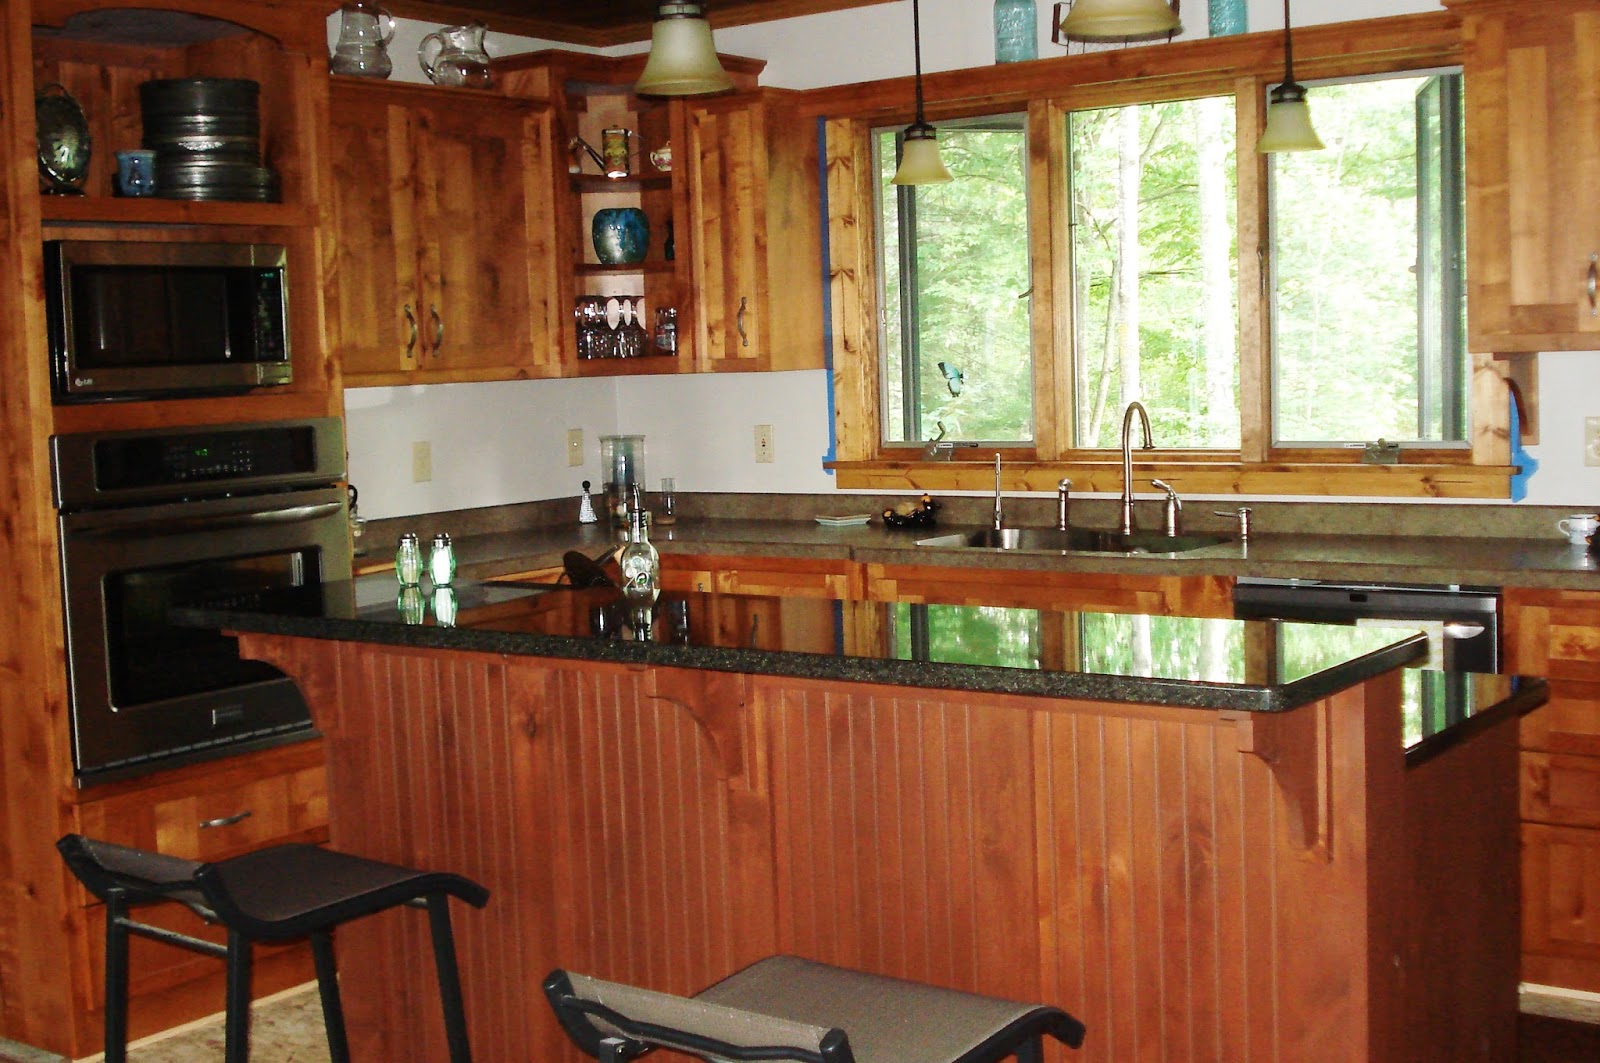
The kitchen is finished except for the floor. We couldn't be happier with the choices we made - we simply love our kitchen. Cooking and cleaning up is fun, when we're in such a beautiful place.

This weekend I started decorating with a few antiques and other items. On the right, on the top shelf, are antique film cans from my grandpa.  See the silver disk thing on the top shelf on the left?


I found it at a little antique shop in town but couldn't figure out what it was. So I asked.


The owner of the shop showed me that it's actually a serving piece. The outsides fold down, and a disk in the middle is rotated to be flat.


Perfect for serving cookies, candy, crackers, hors d'oeuvres, etc. I thought it was perfect for my kitchen. The silver complements the stainless appliances.

At the same shop I found these dark turquoise Ball jars. This picture doesn't really show how well they match the platter I already had.


I already had a couple of lighter blue Ball jars and the chicken wire basket so they went up on the shelf above the sink.


At the same little shop in town (it was a great day for me to stop there) I found the vase on the shelf below.


Here's a little bit better look at it. It has more color than it looks like in this picture, and I have a little blue bottle next to it on the shelf which matches it.


Finally, I found this candle holder when I was unpacking boxes. It really looks nice in the corner of the counter.

You probably noticed in the picture of the silver server earlier, that we got our granite counters installed on the kitchen island. We are absolutely thrilled with the granite - and feel so blessed to have this kitchen. I feel like I'm walking into a decorating magazine whenever I go in the kitchen.


It's hard with my little Sony Cyber Shot camera to get a good picture of the granite. So you may have to come for a visit and see it in person!


Craig has finished the wood trim around the window, and he added a nice window ledge. He's become quite the carpenter.

So that's our kitchen. We'll eventually finish the floor, but for now we're just going to enjoy the beauty and function of our new kitchen.

Friday, May 31, 2013

Washi Tape Projects

Here are my first two projects using washi tape - a bulletin board, and a hat holder. The tape was easy to use, and really adds a lot of fun to these projects.


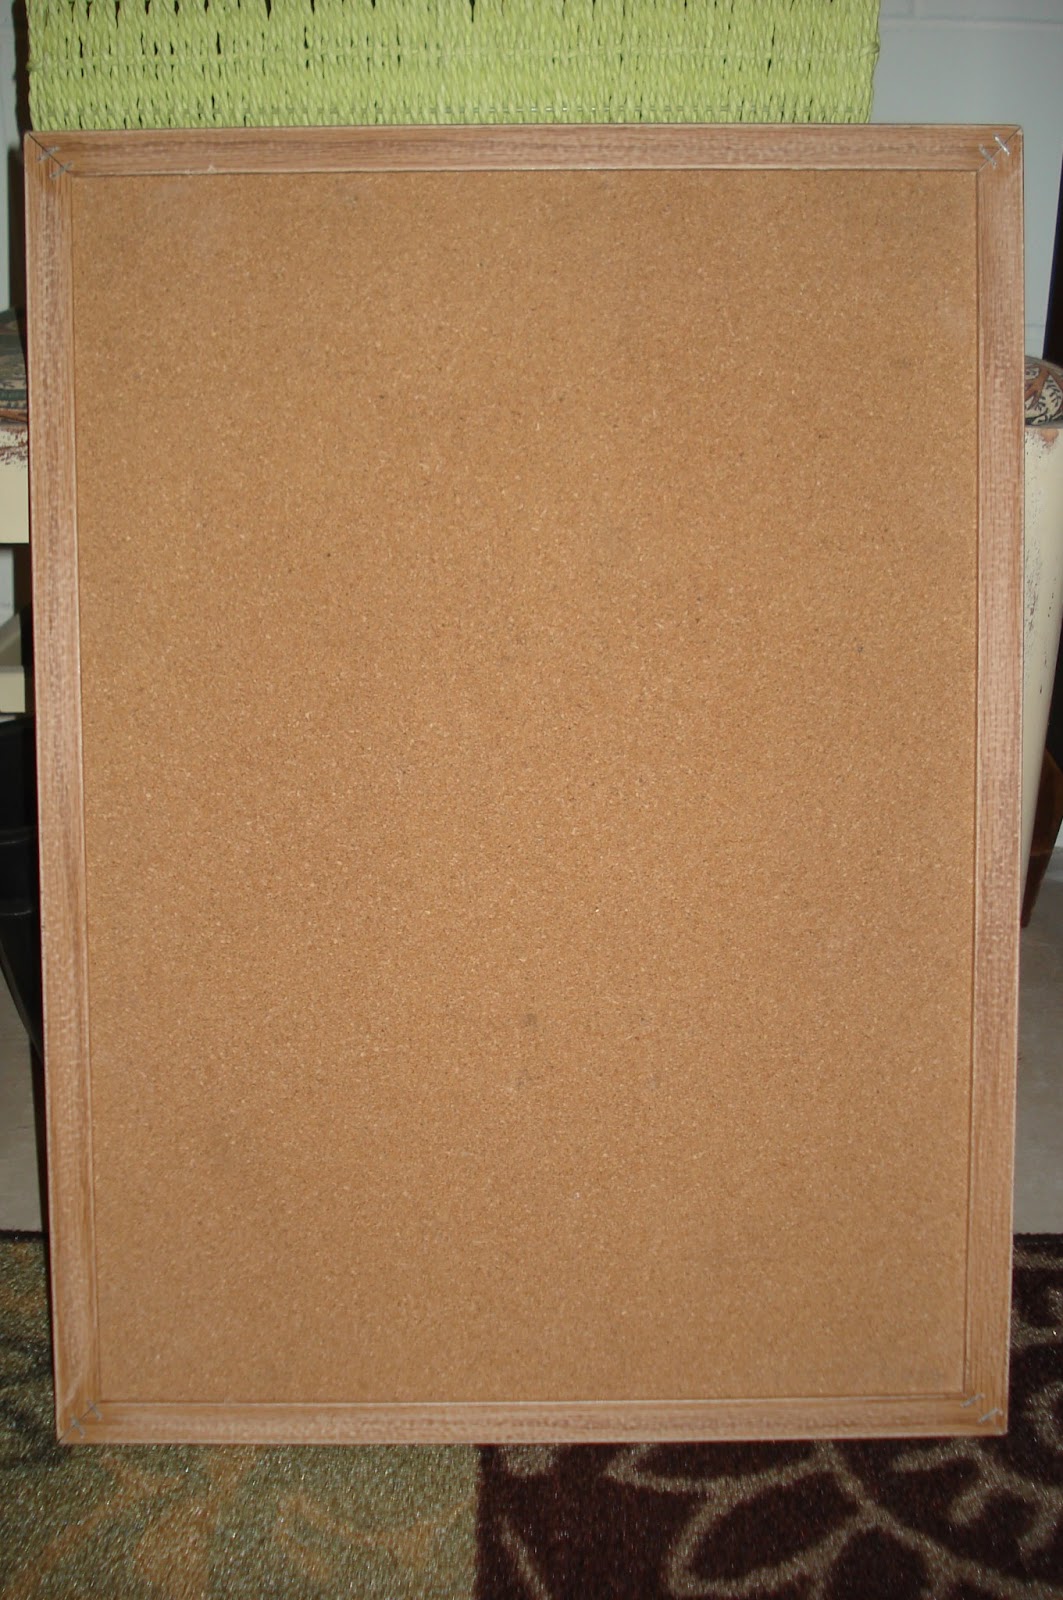
I decided that I wanted a bulletin board in our pantry/office area, and remembered that I had an old bulletin board in storage.

It was pretty plain looking - but perfect for a DIY project.
I found some stencil letters and sprayed the back with adhesive. I followed the directions on the can for temporary use - and let the letters sit for 5 minutes after spraying them. Then I attached them to the bulletin board.
After that I painted the bulletin board and frame using a small roller. I removed the stencils very carefully right after painting because I didn't want them to end up sticking permanently. The next day I realized that the whole thing needed a second coat of paint, so I repeated this whole process. I let the board dry for a couple of days then I got out my washi tape. As you can see in the picture below, I used two different tapes - orange on the front and turquoise on the sides.

After that I searched my craft room for some embellishments, and found these fabric flowers I had bought from the Pick Your Plum website. (If you haven't been to this website yet, check it out. They have one item on sale each weekday. Their prices are good, and they have fun stuff.)


Here's one more look at the finished bulletin board. Isn't it cute?


My second washi tape project is a hat holder that I'm going to hang in my office. I keep telling my coworkers about all the "hats" I wear at work - so I'm going to display hats with labels on them.

I found a nice sturdy wooden yardstick at a flea market for 50 cents. I attached wooden clothespins to the yardstick with E6000 glue.Since I'm only using it as decoration, I think the glue is strong enough. If I would be using it every day to take hats off and put them back on I think I'd add a screw to hold each clothespin even better.
After the glue was good and dry (72 hours, according to the label on the glue) I added washi tape to the front of each clothespin.

My hat holder is ready to hang on the wall of my office. Now I just have to get some hats!

A side note: I found that when I added hats, the yardstick wants to stick out from the wall, so I'll be drilling a hole in the bottom of the yardstick and using two nails, one on top and one on the bottom, to hang up my holder.


Wednesday, April 24, 2013

Crochet Flower


Here's my newest crochet project. I crocheted this two layer Irish rose using a pattern from this web site:

Then I found a frame, covered the cardboard back with burlap, sewed a button in the middle of the flower, and glued the flower to the burlap.  I love the contrast in textures between the burlap, the yarn and the button.


Even though it's just a small easy crochet project, I love it!

Saturday, April 7, 2012

A clean counter

I have been frustrated with the amount of paper that piles up on my kitchen counter. Sometimes it's because I just don't take the time to deal with it (sort, file, throw) - but some of it is because it is something I need to keep out for a while. So I have been looking for a cute way to store these things without cluttering up my counter.
Yesterday I went shopping at my favorite places - the shops on Buffalo - and I found the perfect solution at a store called Patina General. 
My husband was nice enough to mount it today, and here it is:


It's a drawer that had hinges added so it could be mounted on the wall. Isn't it just perfect? Now the challenge will be to keep things in it current.

Tuesday, April 3, 2012

Kitchen Bulletin Board

I have seen several bulletin boards made on the inside of a kitchen cupboard door and I loved the idea, so I finally decided to make one of my own.
I used Angie's as an example, but there are more in the blogging world. Here's just a few:
http://domestiphobia.net/2010/04/08/cork-isnt-just-for-wine-stoppers/

http://lifehacker.com/5889243/create-a-hidden-cork-board-message-center-on-the-inside-of-a-kitchen-cabinet

http://www.apartmenttherapy.com/how-to-make-a-kitchen-cupboard-79680

Back to mine...
I tried following Angie's directions and used white glue to attach the corkboard - but that didn't work for me. Looking back, it might have worked if I'd taken the door off the hinges and laid it flat, put on the cork, and weighted it down until it dried. But since I didn't want  think to take the door off, when I tried gluing the pieces they stuck to each other, but buckled in the middle. Fortunately, I was able to remove them without wrecking them so I was able to reuse the same pieces.
What worked for me was some 3M two-sided tape. I don't know how it will come off if I ever want to remove the cork, but I guess I'll cross that bridge if/when I get there.
Here's my finished bulletin board. It makes me happy every time I open the pantry door.

 In the top left corner I used scrabble tiles to spell out "Notes" (going across) and "Numbers" (going down). I backed them with some scrapbook paper before sticking them to the cork.
I wish I had taken a "before" picture - with my hodgepodge of notes stuck up with scotch tape. This is so much nicer!!

Thursday, March 8, 2012

Saturday Shopping Part Two

Here are some more pictures of my great finds last Saturday, just like I promised earlier in the week.
These are things I found while shopping the occasional sales in Buffalo, MN.

 I found this wooden tray at This N That. Craig helped me cut a thick plastic placemat (from Target last year) to fit inside the tray and I added felt pads to the bottom so it doesn't scratch the coffee table. Right now it's on this table in our family room at home - but eventually I'd like to find a big ottomon for either the living room here or the family room at the cabin - and this tray would be perfect on an ottomon.

 I'm not sure where I'm going to display this white and black pitcher, but I fell in love with it (at the store called Now And Again) and had to get it.
I'll find a place for it!!
 Two candlesticks and a vase. Of course, now that I'm done making valentine mailboxes , I find a black candlestick for $2. I do have a couple of unfinished mailboxes...which I may decorate for other seasons, so both of these candlesticks would make perfect mailbox bases. And the vase in the middle came decorated with wire, ribbon and beads - and will be a birthday present for a friend at work. I know the vase came from This N That, and the black candlestick came from Now And Again. I found the other candlestick at Goodwill.

I have plans for this picture stand - which include paint. It might end up on the wall in the kitchen with a cute folder in it for the mail. There's a new store in Buffalo called Treasures on 1st (I think).

This is a stand for hanging an ornament, and the little cup is glued to the saucer. So now I just have to figure out how to hang the cup and saucer on the stand so the cup doesn't tip.


Sunday, March 4, 2012

Saturday Shopping

 On the first weekend of every month the occasional shops in Buffalo, MN open for the weekend. Most of these shops are antique/second hand shops - but everything is in excellent condition, reasonable priced, and arranged so wonderfully for the season. Most of the shops change up their merchandise every month or two, so there's always something new to see. These shops have become my favorite places. It's probably good that they're only open 4 days a month! The other place I shopped this week for deals was Michael's.
Here are a couple of my buys this month: (I was really thinking Spring)

 I bought these feathers on sale at Michael's. The cozy on the middle candle is actually for a coffee cup. A friend at work crocheted it, added a button, and gave it to me as a gift.

 I couldn't resist the bunny mama and baby from The Porch.
 I found this branch and ceramic pot at a shop called Now And Then. It was supposedly a Christmas decoration (A "partridge in a pear tree" thing) so it was 50% off - only $8. I had bought the little Easter eggs with the intention of finding a branch and spray painting white, then finding a pot to put it in, and hanging the eggs on it. This one I found was perfect. The work was all done except for adding the eggs. I am so excited!

I found these flowers at Michael's (on sale. of course!) and they're the perfect colors for my dining room. I got out my white pitcher this morning and arranged the flowers, but it didn't look quite right on the table. Something was missing. So when I went shopping today I was looking for a mirror or frame to put under the vase. Nothing was exactly what I was looking for until I found a milk glass plate. It fits the pitcher nicely, and I love the detail around the edges. And best of all - it was $4.
I'll post pictures of some of my other purchases later this week. Stay tuned  - and think "Spring!"

Thursday, March 1, 2012

Thank goodness for free printables

This year I have discovered the wonderful world of free printables. I use Google Images to find printables for all kinds of topics. I have printed off several different Dr. Seuss quotes which I have framed and displayed in the elementary school office where I work.
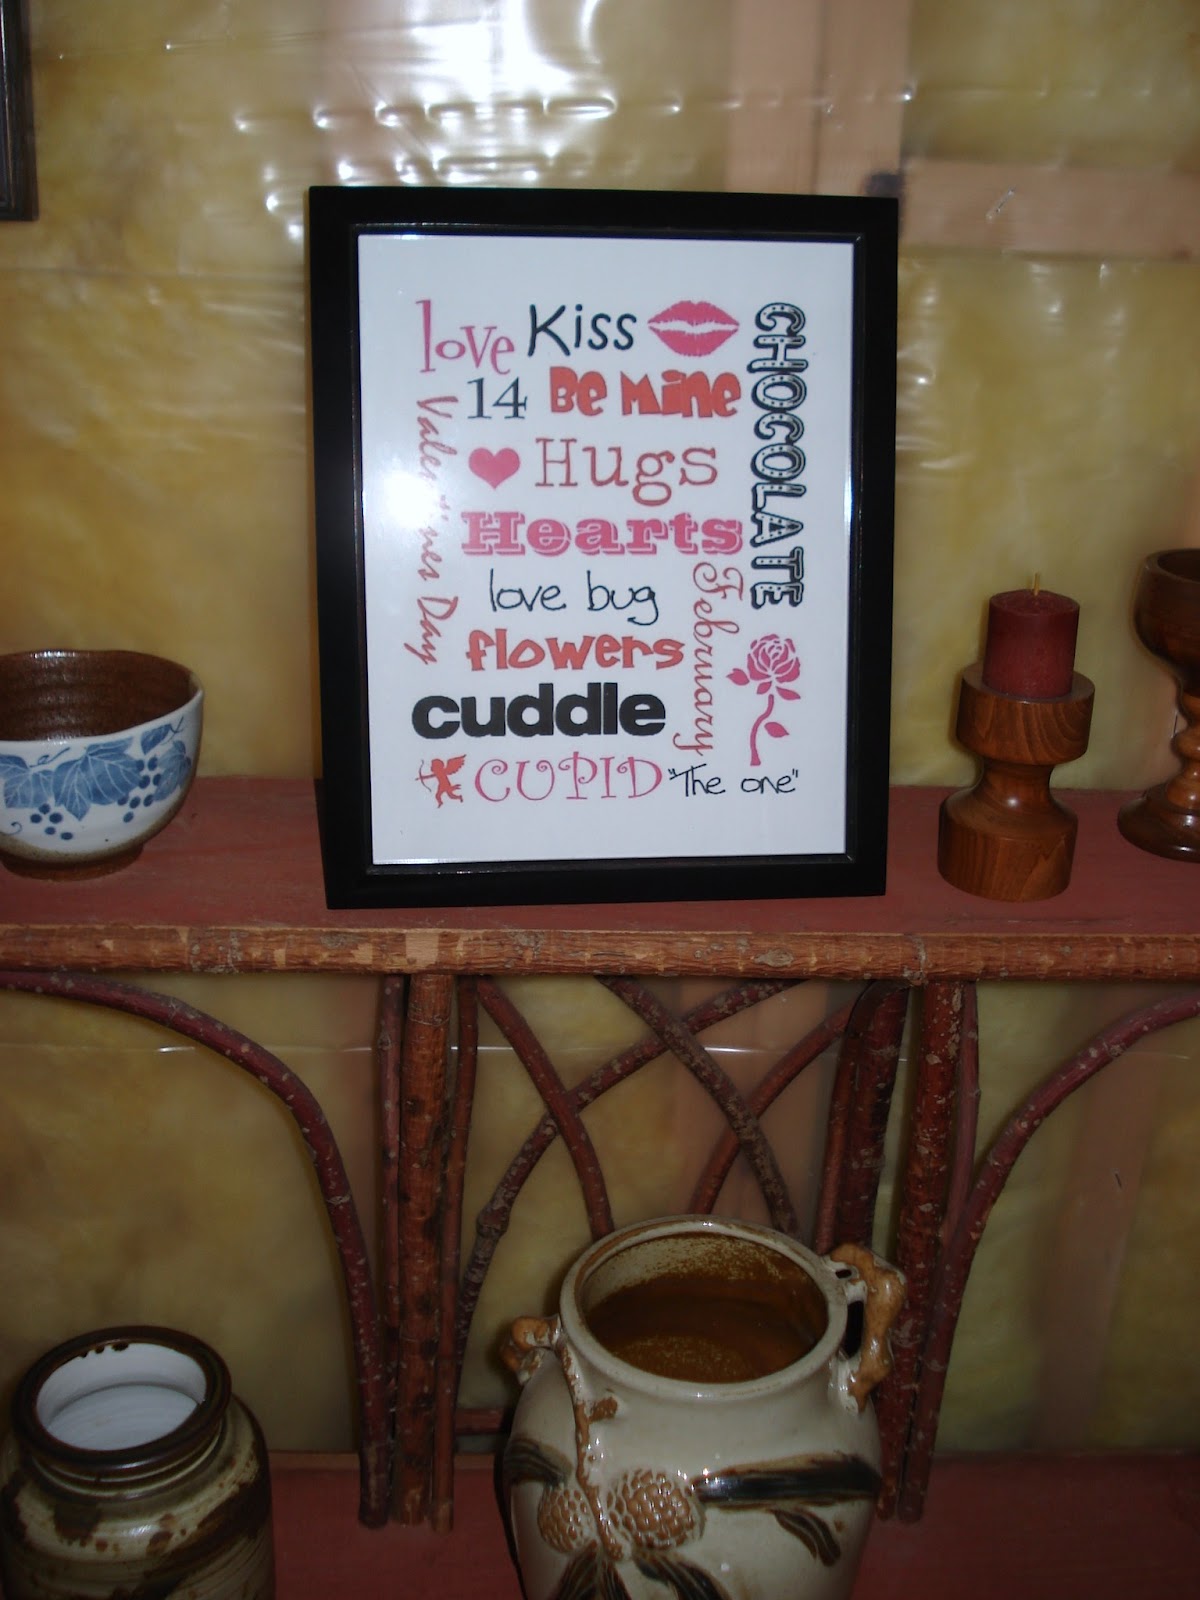
For Valentine's Day I decided to find a couple of printables to use in decorating the cabin. So here's what I found:
 I found this one at Stacy's blog - Not Just a Housewife. Thanks, Stacy!


This one contains the verses in I Corinthians 13 about love. I found this at Diana's blog - The Creative Girl. Thanks, Diana!  (You can see the words better on her blog, if you want to see it up close.)
Diana had hers in a black frame, which looked awesome - but I wanted a red  frame because I needed a pop of color.

I think I'm going to have to start looking for some springtime printables - or maybe I should try creating my own spring subway art? How about you - have you used any printables in your decorating?

Sunday, January 22, 2012

My Gallery Wall

Every time I saw a picture of a gallery wall on someone's blog I dreamed of having one.
I tried to figure out where I could have one. I started collecting frames. I thought about what kind of pictures I wanted to include in my gallery wall. And,I kept looking at pictures of gallery walls online.

Someday I want to put together a gallery wall at the cabin - pictures of the cabin then and now, pictures of friends and family who have visited the cabin, etc. But before I can have a gallery wall there the walls need to be finished!

I did find a place for a gallery wall at home, however. I began with just a couple of pictures of my grandchildren. Tonight I finally put up all the things I have been gathering for this family themed gallery wall. I am so happy with it. There is room to add a few more pictures - which is good, since I don't have pictures up of some family members yet.

Here is my gallery wall so far -


I love it!

Sunday, November 27, 2011

It's beginning to look a lot like Christmas!

Christmas has come to the cabin....

Billy greets everyone on the road.


Here's the Yule Log we made at our church's
Advent Festival last Sunday.


This is the first year we've had a  full size
 Christmas tree at the cabin! (please ignore
the plastic and red tape on the walls!)


We need just a bit of snow to make it really look
like Christmas.


Yesterday we had Christmas carols playing on the radio, and I made maple sugar cookies. It's beginning to feel like the holiday season.

Tuesday, October 18, 2011

Fall Mantel Decorations

Here is my fireplace mantel at the cabin, decorated for fall.

 I bought this picture of the dancing bear when I was up in Duluth. I love the colors for fall, and it makes me smile whenever I look at it.
The bottle to the left of the picture was purchased at The Porch in Buffalo.

I think I need some fall leaves instead of the evergreen garland, and maybe something taller on one side - but it's a work in progress and I am enjoying it.